
If you are building your first house, the process can feel like a blur of unfamiliar words: plinth beams, shuttering, curing, sunken slabs. Here is how an independent house in Telangana typically goes from drawing to handover, and what to check at each step.
1. Survey, soil and design
The plot is surveyed and its boundaries and levels fixed. A soil investigation gives the structural engineer the safe bearing capacity of the ground. The architect develops the floor plans and elevation, usually with Vastu preferences built in, and the structural engineer designs footings, columns, beams and slabs to IS 456. The drawings then drive the BOQ.
If Vastu places the overhead tank in the south-west corner, tell your structural engineer early. A full tank adds a heavy load, and the columns and footings below it should be designed for it.
2. Approvals
Building permission is applied for through TS-bPASS in Telangana’s municipalities, through GHMC or HMDA in and around Hyderabad, or from the gram panchayat in villages. Keep a copy of the sanctioned plan on site. It is the reference everyone builds to.
3. Marking and excavation
After the bhoomi puja, the centre lines of every column and wall are marked out from a fixed reference using pegs and string. Errors here travel all the way up the building, so check the marking against the drawings before digging starts. Excavation goes to the depth the structural engineer specifies, or until suitable hard strata is reached.
4. Foundations and plinth
A levelling bed of plain cement concrete (PCC), often M10 or a 1:4:8 mix, is laid in each pit. Reinforced footings and column starters sit on this. Once cured, the pits are backfilled in layers and compacted, and the plinth beam ties the columns together at ground level.
- Anti-termite treatment of the soil before plinth filling and the floor bed.
- A damp-proof course on the plinth to stop ground moisture rising into walls.
- Plinth filling with good murrum or sand, compacted layer by layer, so floors do not settle and crack.
5. The structural frame
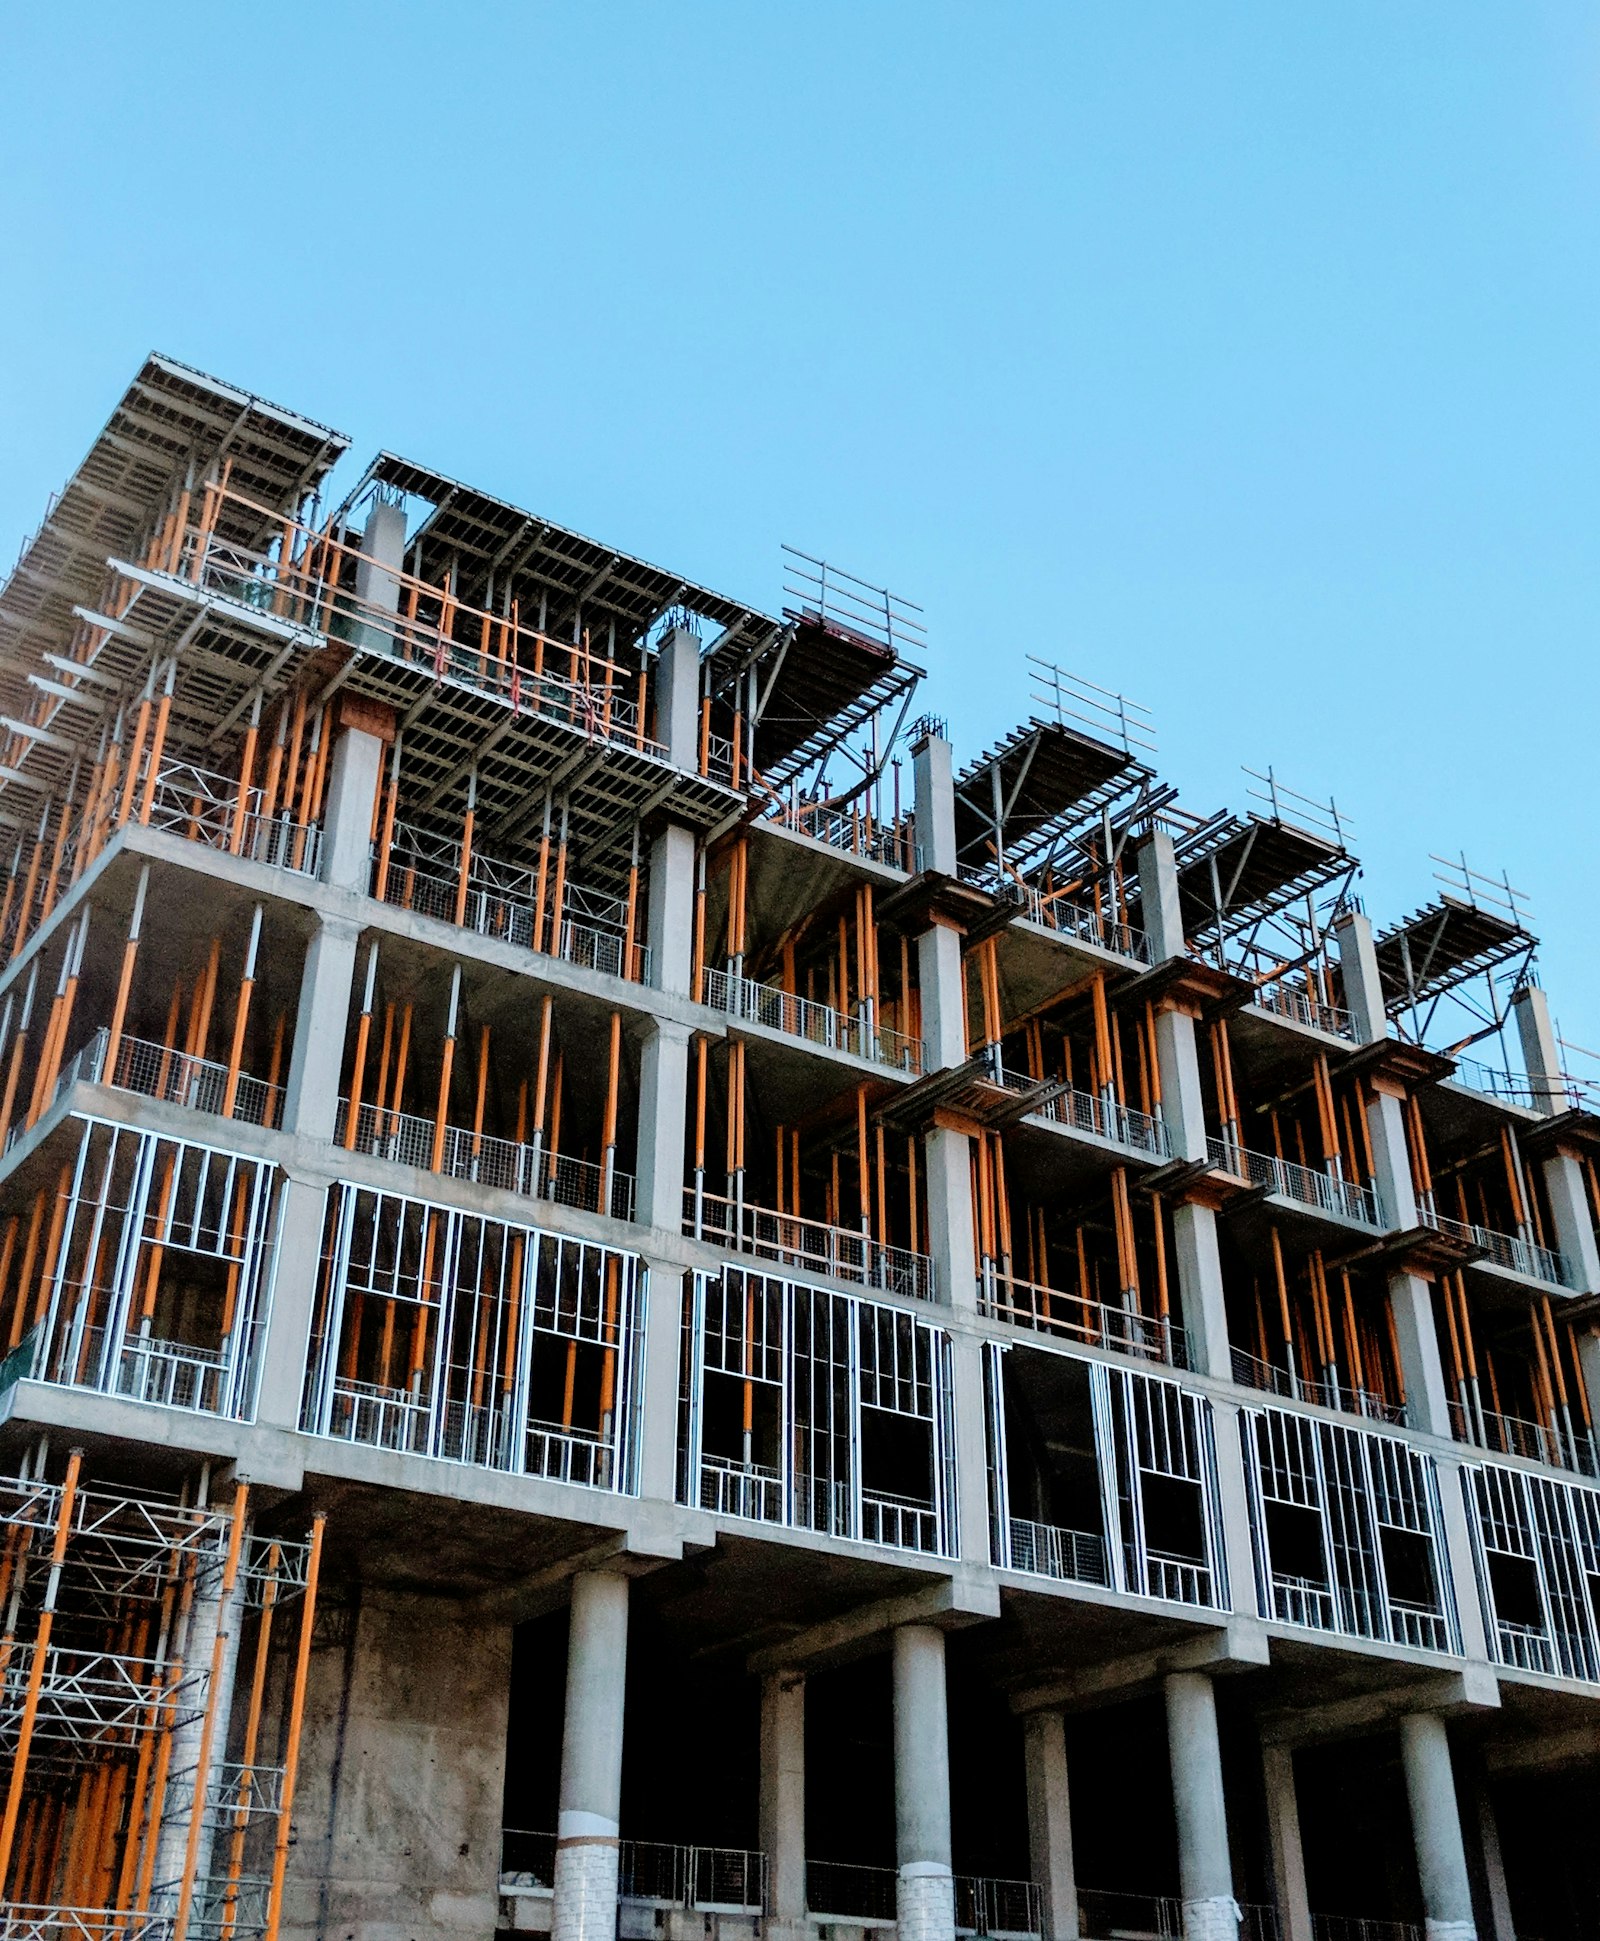
Columns rise floor by floor, followed by beams and the roof slab. This is where most of the structural cost and risk sit, and where supervision matters most.
Check before every slab pour
- Reinforcement matches the drawings: bar diameters, spacing, laps and extra bars at supports.
- Cover blocks are in place, typically 20–25 mm under slabs and 40 mm for columns.
- Shuttering is level, rigid and leak-proof, with firm props.
- Electrical conduits and fan boxes are embedded now, not chased in later.
Slabs and beams are usually M20 or M25 concrete. After the pour, the slab is cured by ponding or wet hessian for at least 7 days with OPC and 10 days with PPC, longer in hot weather.
Concrete does not dry into strength. It cures into strength, and only if it is kept wet long enough.
6. Masonry and openings
Walls go up in red brick, fly ash brick or AAC block. Clay and fly ash bricks are soaked before laying so they do not pull water out of the mortar; AAC blocks are laid with their own thin-bed mortar. Lintels are cast over every opening, with sunshades where the design calls for them. Check opening sizes against the drawings, because door and window frames are made to them.
7. Services and plastering
Conduits, switch boxes and water lines go into the walls before plastering, and water lines should be pressure-tested now; leaks are cheap to fix before tiles go on. Internal plaster is typically about 12 mm thick, ceilings about 6 mm, and external plaster thicker, often in two coats, to keep out driving rain.
8. Waterproofing and flooring
Toilets, balconies and the terrace are waterproofed and pond-tested for a day or two before screed or tiles go on. Flooring follows, with proper slopes towards drains in every wet area.
9. Finishes
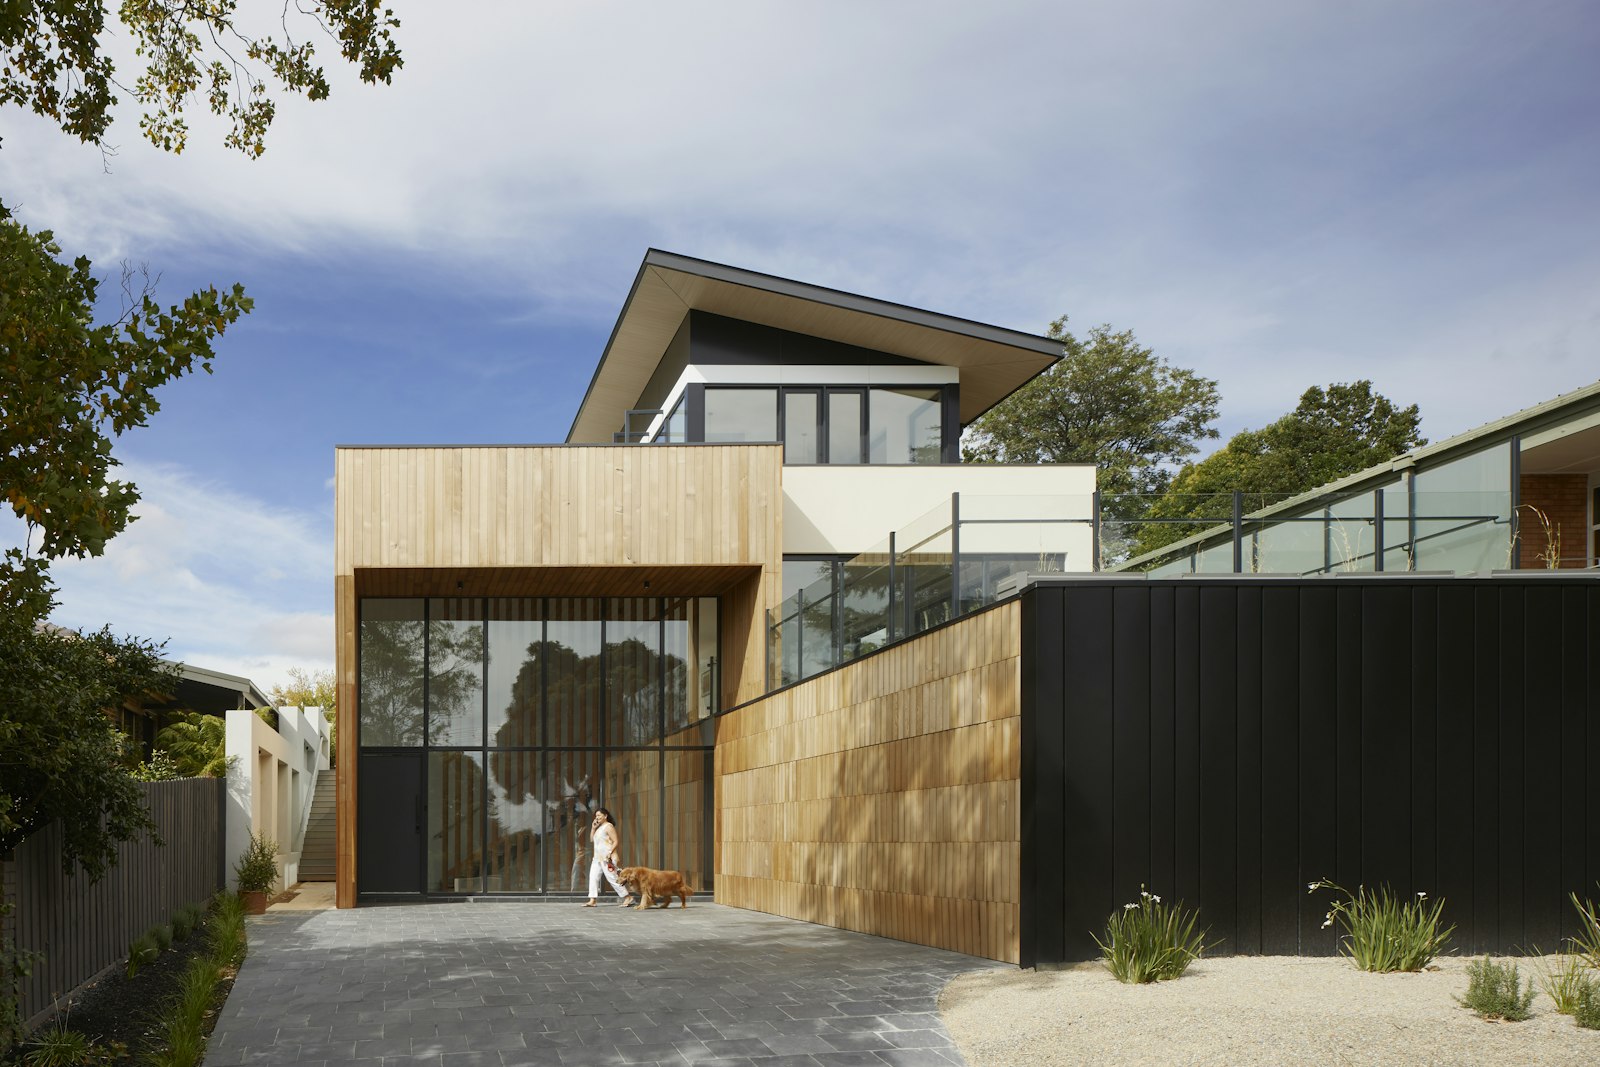
Doors and windows are fixed, walls receive putty, primer and two finish coats of paint, and sanitaryware, electrical fittings and the kitchen platform are installed, along with the sump, tank connections and compound wall if not already done.
10. Handover
A proper handover includes a snag-list walk-through, testing of every tap, switch and drain, and a file with as-built drawings, warranty cards and a contact for defects. Then apply for the occupancy certificate and permanent service connections as your local body requires.
You do not need to be an engineer to protect your house. Be present at the hold points: marking, footing steel, every slab pour and the waterproofing tests, and ask to see the cube results. A builder who welcomes those visits is one you can trust with the rest.